Steps |
Description |
Photos |
1 |
Each necklace begins as a chunk of rock, mineral or fossil, either big or small. |
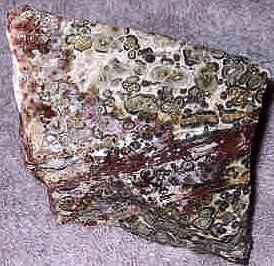
Chunk of Leopardskin Jasper
|
| |
2 |
The rock is cut into slabs with the mother of all saws. |
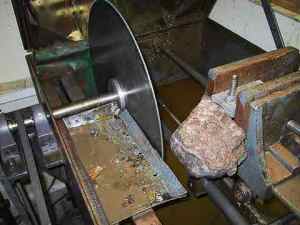
Slab Saw
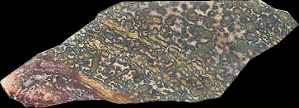
Leopard Skin Slab
|
| |
3 |
I use a trim saw to cut the slabs into the shapes I want for pendants. |
Using a Trim Saw
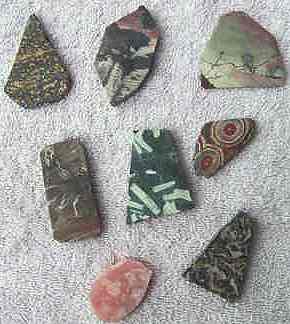
Stones After Trim Saw
|
| |
4 |
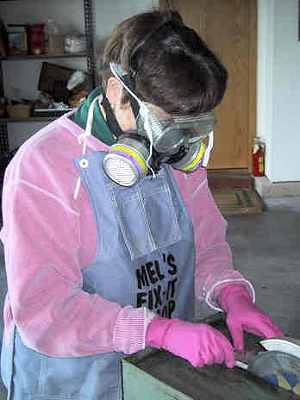
To shape and polish the rough pieces, I use a self-contained Genie (includes a water pump system). This machine shapes and polishes the pendants in 6 steps, starting with a wheel with course diamond grit, and ending with the polish wheels, with fine polish. Leather disks can be added to the end of the shaft to give a final polish if needed. |
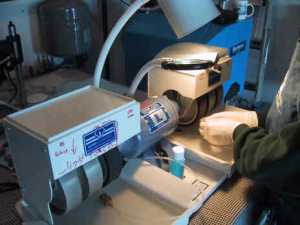
Shaping and Polishing the Stones
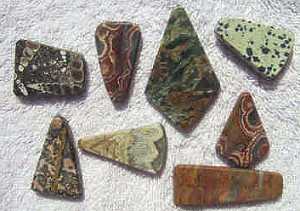
Polished Pendants
|
| |
5 |
When the pendants are complete, I drill tiny holes in the tops with a drill press using diamond drill bits. I then glue small screw eyes into the hole and the pendant is ready for stringing. |
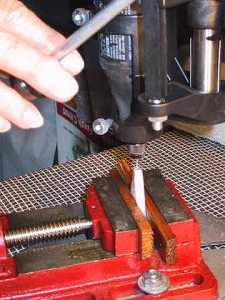 Drilling Holes using Drill Press
 |
| |
6 |
I use a bead board to design my necklaces, which allows me to "experiment" with the design before stringing. I have 9 boxes of natural stone, horn, bone or ivory beads, which I use to create the finished product. I use sterling silver or 14K gold filled clasps and crimp beads. Necklaces are strung on SoftFlex wire, which is flexible, yet strong. The finished product is one of a kind, created from natural jewels! |
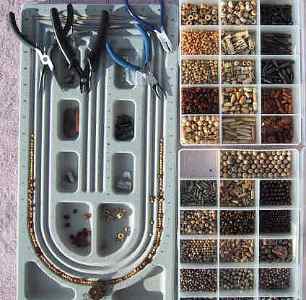
Designing the Necklace
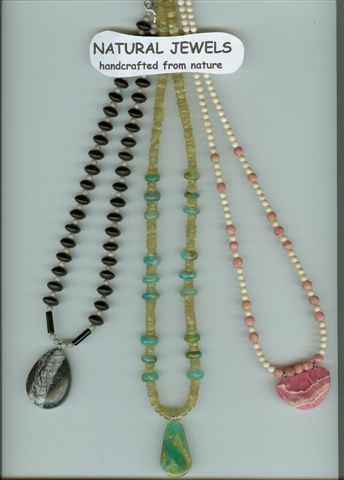
Finished Necklaces
|